This article will explain the two methods you can use to take a picture in the Android version of Gaia GPS.
To learn how to add an existing photo via the website, click here.
Method one - Create a picture waypoint
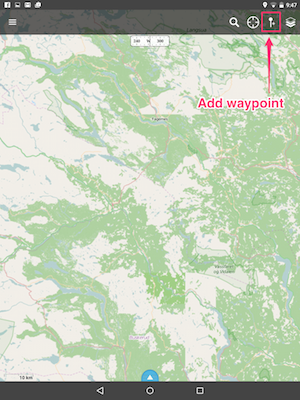
1. Tap the add waypoint button
2. Select "Take a Picture"
3. After taking your picture, name and save it
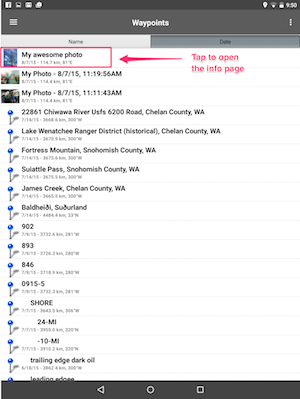
4. Once saved, it can be found in your saved waypoints list

5. Tap your photo waypoint to open the info page
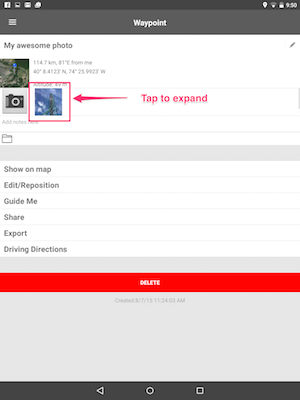
6. Tap the picture to view a larger version
7. If you have the waypoint overlay turned on, you will now be able to see a waypoint on the map screen.
8. To quickly navigate to that location you can select "Show on Map" from the photo's info page.

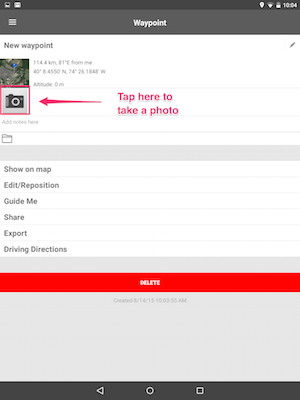
Method 2 - Add a photo to an existing waypoint
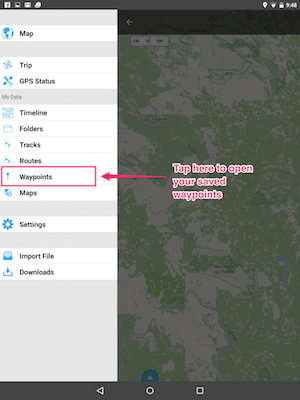
1. After creating a waypoint, navigate to your saved waypoints list
2. Select the waypoint that you would like to add a photo to.
3. On the next page, tap the camera icon. Your camera app will open and you can take a picture.
0 Comments